
Before:

After:
I bought my jewelry box from goodwill (of course, haha) for a pretty good price. In this picture above I had not erased the pencil tracings yet, so if you choose to purchase this piece, know that all the pencil markings will be erased!
Step 1: Sand down the lid of the box so you can paint the top. In this step I chose to sand down the whole box so it would have more of a vintage, worn style to it. But you do not have to do that it you prefer the more clean style!

Step 2: Paint a base color on the lid of the jewelry box. I just used some cheap paint my mom got at a sale a couple years ago. Because I knew I wanted to do some flowers and lettering, I chose a light blue so that the flowers and words were easier to read and the light color would give the other colors more of a pop! Feel free to lay down some tape so that your lines are smooth on the top of the box; however, I did not do that because I liked the way the rough lines looked. It helped to do a couple layers of paint so that the underlaying wood would not show, but if you have a thicker paint you probably do not need to worry about that. I also added a thick blue line along the bottom edge of the box to tie the whole thing together.

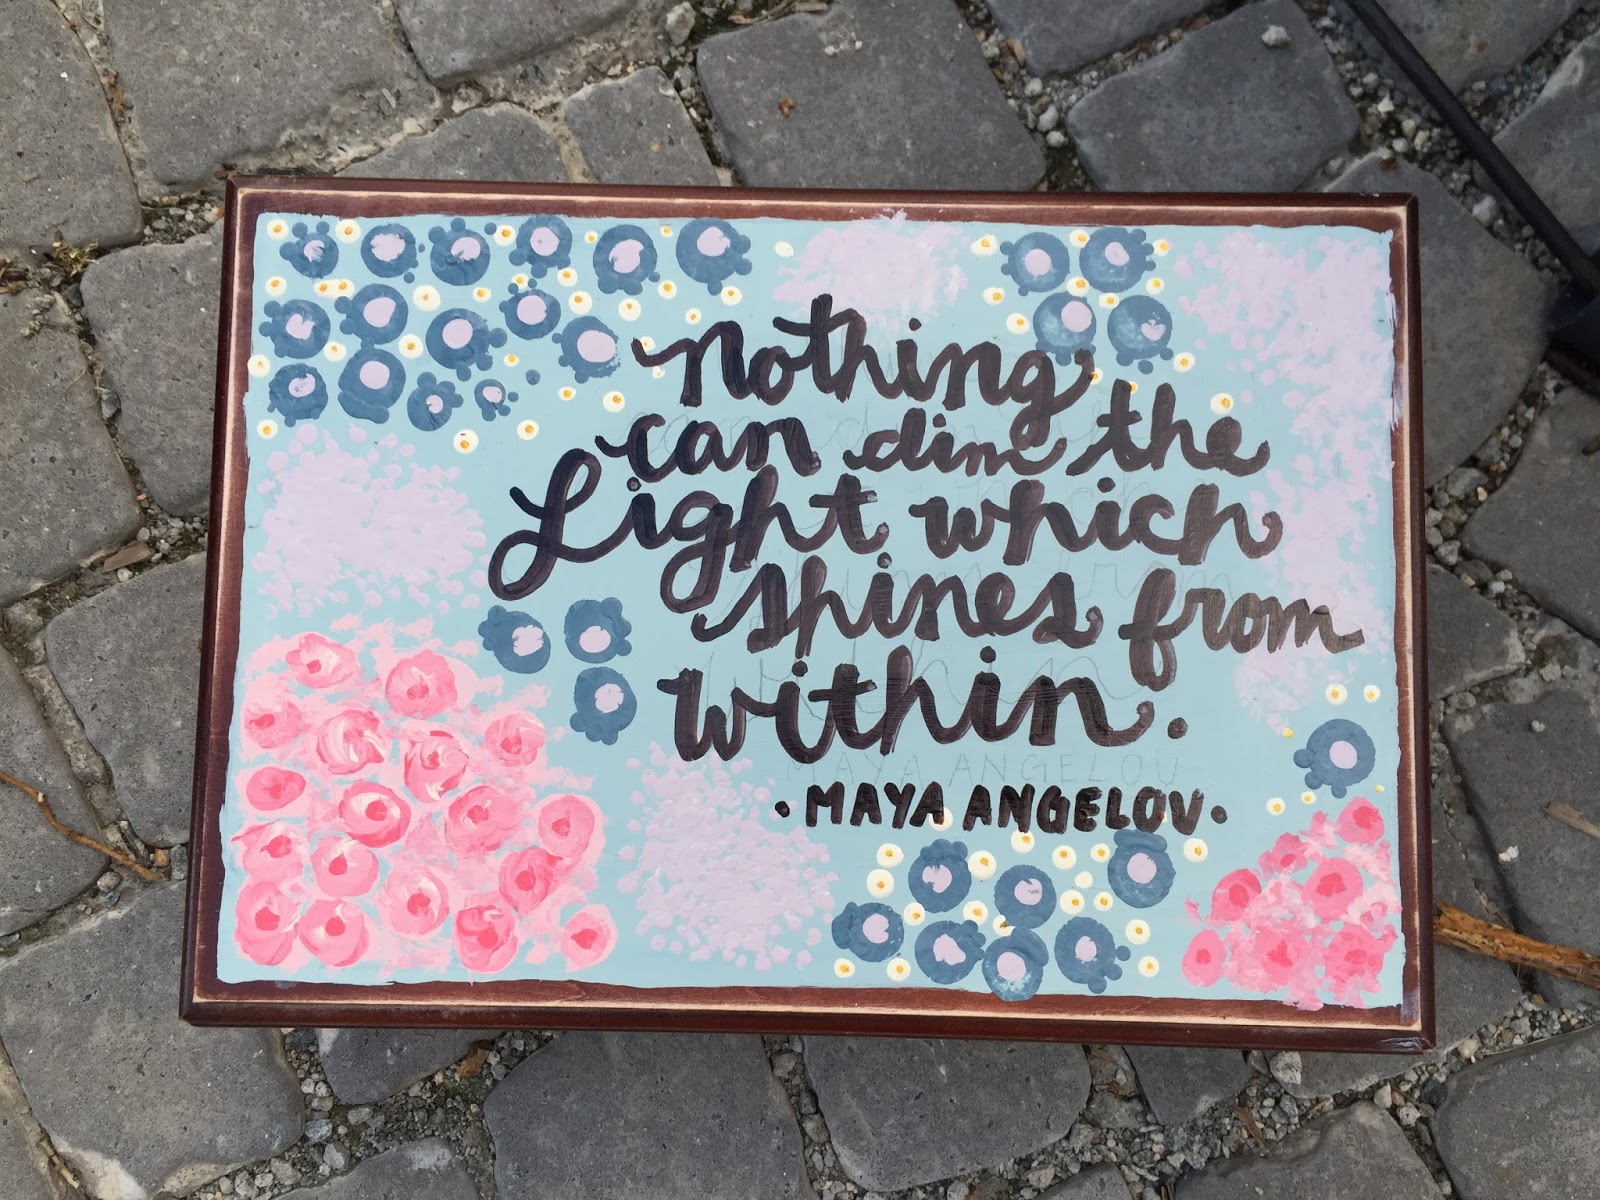
Step 3: Add a design to the top of box. This can be anything you want it to be, an initial, flowers, or you can mod-podge a picture onto it. I chose flowers and just painted them on with regular wall paint. The were pretty easy to paint, the pink ones are just two colors swirled, the blue ones are just circles with a purple dot in the middle, and the purple is just dabbing a brush on the surface. I left the middle blank so I could later add lettering.

Step 4: While letting that dry, you can work on the inside. I just took some fabric scraps and glued them down on the bottoms of some of the boxes and with leftover paint I painted some of the inside as you can see. The top is before and bottom is after.

Step 5: This step is optional, but I added the lettering to the top of the box just with a sharpie. And thats is it! Here, again, is the finished project. If you are interested in buying this, let me know. Thank you for reading, if you have any questions or comments leave them below. Have a good day!!

XOXO, Sarah Elizabeth
LOVE THIS AND YOU!
ReplyDelete